Beyond Dye Kits: Creative Easter Egg Paint & Marker Designs
Easter is a time for renewal, family gatherings, and, of course, the age-old tradition of decorating eggs. While a simple dye kit offers quick gratification, there's a growing movement among crafters and DIY enthusiasts to treat each egg as a miniature blank canvas, eager for a touch of artistic flair. If you're someone who loves to infuse personality and creativity into your holiday decorations, then you're in the right place. We're diving deep into a world of vibrant and imaginative
Easter egg painting ideas that go far beyond the conventional dip-and-dye method. Get ready to explore an exciting palette of paints, markers, and even stamps to transform ordinary eggs into extraordinary masterpieces.
Unleashing Your Inner Artist: Why Go Beyond the Dye Kit?
For many, the process of decorating Easter eggs is more than just a holiday chore; it's a cherished ritual that evokes fond memories and sparks joy. The satisfaction of seeing your vision come to life on a tiny shell is truly special. Opting for paint and markers opens up an incredible array of possibilities, allowing you to create intricate patterns, bold statements, and delicate details that dye alone simply can't achieve. It’s an opportunity to truly show off your DIY skills and experiment with diverse artistic mediums, whether you're a seasoned artist or a beginner looking to explore your creative side.
Before you begin your artistic journey, a quick note on egg preparation: You can use hard-boiled eggs if you plan to consume them shortly after decorating (ensure non-toxic paints are used). For lasting keepsakes, consider blowing out the eggs first. Simply pierce a small hole at each end, use a needle or skewer to break the yolk, and blow out the contents. Rinse the inside and let them dry completely. This allows your beautiful creations to be enjoyed for years to come. Always ensure your egg surfaces are clean and dry for optimal paint adhesion.
Innovative Easter Egg Painting Ideas with Paint
Paint offers incredible versatility, from the translucent beauty of watercolors to the bold opacity of acrylics. Here are some inspiring
Easter egg painting ideas using various types of paint:
-
Polka-Dot Easter Eggs: A timeless classic with a playful twist. Start by either dyeing your eggs a solid color or painting a base coat with acrylic paint. Once dry, add delightful 3D dots using puff paint. The raised texture adds a whimsical dimension. For a simpler approach, use regular craft paint and the eraser end of a pencil or a cotton swab to create perfectly round, uniform dots in various sizes and colors.
-
Watercolor Easter Eggs: Achieve a dreamy, ethereal look with watercolors. Mix a few chosen colors on a palette. Gently brush clean water onto a section of your egg, then apply light watercolor strokes to the wet area. The paint will beautifully bleed and blend, creating soft, artistic effects. Continue this "wet-on-wet" technique on different sections, layering colors until you reach your desired watercolor masterpiece. These designs are perfect for a subtle, sophisticated aesthetic.
-
Gingham Easter Eggs: Nothing says spring quite like a cheerful gingham pattern. On a white egg, use watercolor paints and a flat-tipped paintbrush. Start by painting evenly spaced parallel lines in your chosen color. Once dry, paint another set of parallel lines perpendicular to the first, using the same color. Where the lines overlap, the color will intensify, creating that signature crisscross gingham effect. Experiment with different spring hues for a truly custom look.
-
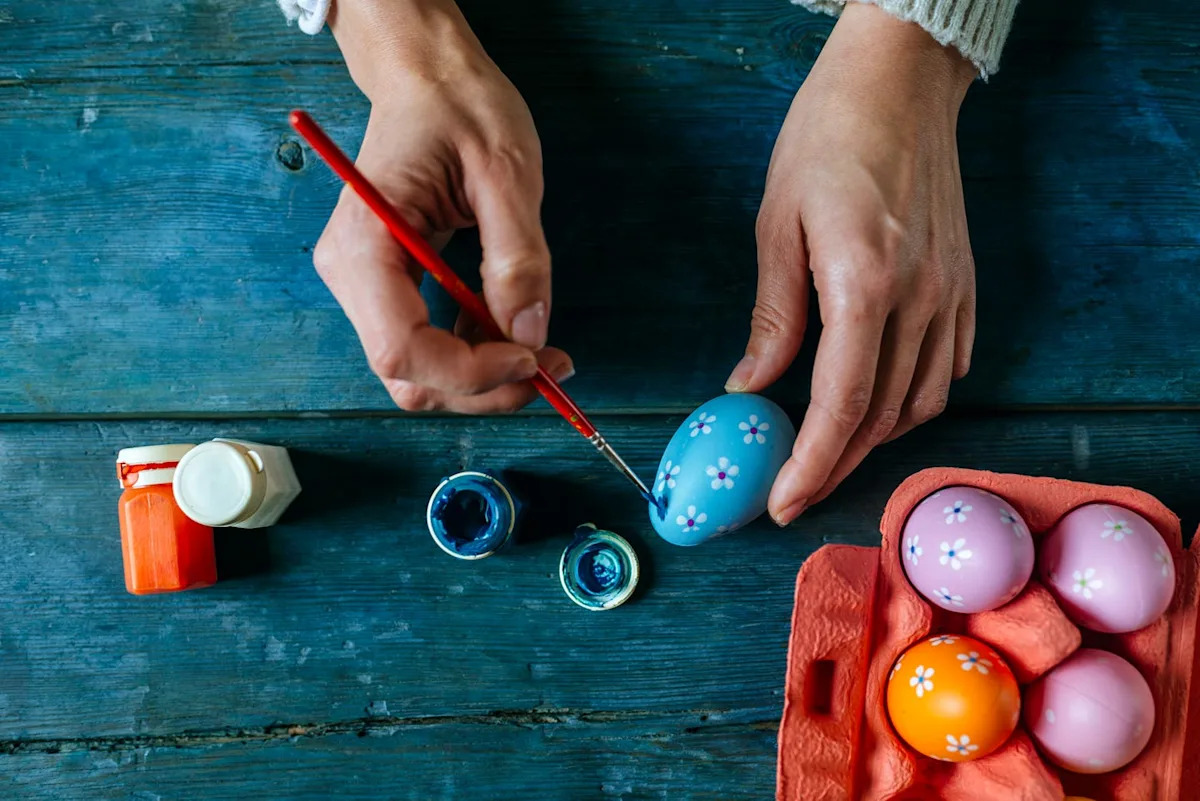
Two-Tone Painted Easter Eggs: Create visually striking eggs using two contrasting or complementary hues of acrylic paint. Paint one half or a simple base shape of the egg in your first color and let it dry completely. Then, use the second color to paint delicate floral patterns, geometric shapes, or even simple stripes on top. You can reverse the process on other eggs for a varied, yet cohesive, collection. For crisp lines, consider using painter's tape to section off areas.
-
Lettuce Eggs: For a surprisingly realistic effect, use a thin-tipped white paint pen on green-dyed eggs. Carefully draw the intricate vein patterns of lettuce leaves, creating a convincing texture. Skillful artists with a steady hand can achieve a remarkable trompe l'oeil (deceive the eye) effect, making your eggs look like they've sprouted from a garden patch. This technique proves that simple lines can create stunning depth.
-
Confetti Painted Eggs: Bring the party to your Easter eggs! Using various hues of paint pens, draw short, dashed lines or tiny irregular dots all around your eggs. The result is a festive, confetti-inspired look that's incredibly joyful and easy to achieve. Mix up the sizes and directions of your "confetti" for added dynamism.
Mastering Markers & Stamps for Graphic Designs
Paint markers and stamps offer precision and bold impact, perfect for graphic patterns and intricate details that can elevate your
Easter egg painting ideas.
-
Cross-Stitch Eggs: Yes, you can mimic the beloved craft of cross-stitch on an egg! Following a simple template (or freehanding), use an 'X' stamp with your preferred color ink to create repeating patterns. Let the ink dry completely. Then, grab a fine-tipped permanent marker (like a Sharpie) to add subtle lines and details, giving your 'stitches' more definition and depth. This technique offers a charming, handcrafted appeal.
-
Paint Marker Easter Eggs & Painted Patterns: Fine-tipped paint pens are your best friend for intricate designs and repeating patterns. From simple brown and white motifs to a vibrant rainbow of colors, you can paint any pattern you desire. Think geometric shapes like triangles and chevrons, repeating hearts, stars, or even abstract doodles. These pens allow for clean lines and excellent control, making complex patterns accessible to all skill levels. Consider drawing your design lightly in pencil first for perfect symmetry.
-
Graphic Black-and-White Eggs: For a modern, sophisticated aesthetic, opt for graphic black-and-white designs. Using a black paint pen or permanent marker, create cool and unique eggs with a bold look reminiscent of graphic novels or contemporary art. Think abstract lines, intricate Zentangle-inspired patterns, or stark geometric contrasts. These eggs make a strong visual statement and stand out beautifully in any Easter display.
-
Emoji Easter Eggs: How are you really feeling about springtime? Express it on your Easter eggs with this cheeky and fun painting technique. Start with a base coat of yellow craft paint. Once dry, use black and red paint markers to whip up a whole set of expressive emoji faces. From laughing-crying to heart-eyes, these eggs are sure to bring smiles and spark conversation, offering a whimsical twist on traditional decorating.
Essential Tips for Perfecting Your Easter Egg Art
No matter which of these
Easter egg painting ideas you choose, a few general tips can help ensure your creative endeavors are successful and enjoyable:
-
Gather Your Tools: Beyond paints and markers, have a variety of small brushes (fine-tipped, flat, round), cotton swabs, paper towels, and a palette ready. If stamping, ensure your stamps are clean.
-
Patience is Key: Allow each layer of paint or ink to dry completely before adding the next. Rushing can lead to smudges and ruined designs. A hairdryer on a cool setting can gently speed up drying time.
-
Work in Sections: Instead of trying to hold the entire egg while painting, try painting one side, letting it dry, then turning it to complete the other side. A toilet paper roll or small egg carton can serve as a makeshift drying rack.
-
Seal Your Creations: For blown-out eggs that you want to preserve, a thin coat of Mod Podge or a clear acrylic spray sealant will protect your designs and give them a beautiful finish.
-
Embrace Imperfection: Remember, the beauty of DIY is in its uniqueness. Don't strive for perfection; enjoy the process and the individuality of each egg.
-
Seek Inspiration Everywhere: Look to nature, art books, or even textiles for pattern ideas. There’s a whole world of artistic Easter egg painting techniques you must try, and new unique decorating ideas are always emerging. For even more creative inspiration and detailed guides, explore these fantastic resources: Artistic Easter Egg Painting Techniques You Must Try and Craft Pro Easter Eggs: Unique Painting & Decorating Ideas.
This Easter, move beyond the standard dye kit and transform your eggs into miniature works of art. Whether you're drawn to the soft blends of watercolor, the bold lines of paint markers, or the playful dimension of puff paint, there's an endless supply of creative
Easter egg painting ideas waiting for you to explore. Gather your materials, invite family and friends to join in the fun, and make this holiday a celebration of creativity, laughter, and beautiful, hand-decorated eggs that reflect your unique artistic vision. Enjoy the process, make lasting memories, and delight in your stunning custom creations!